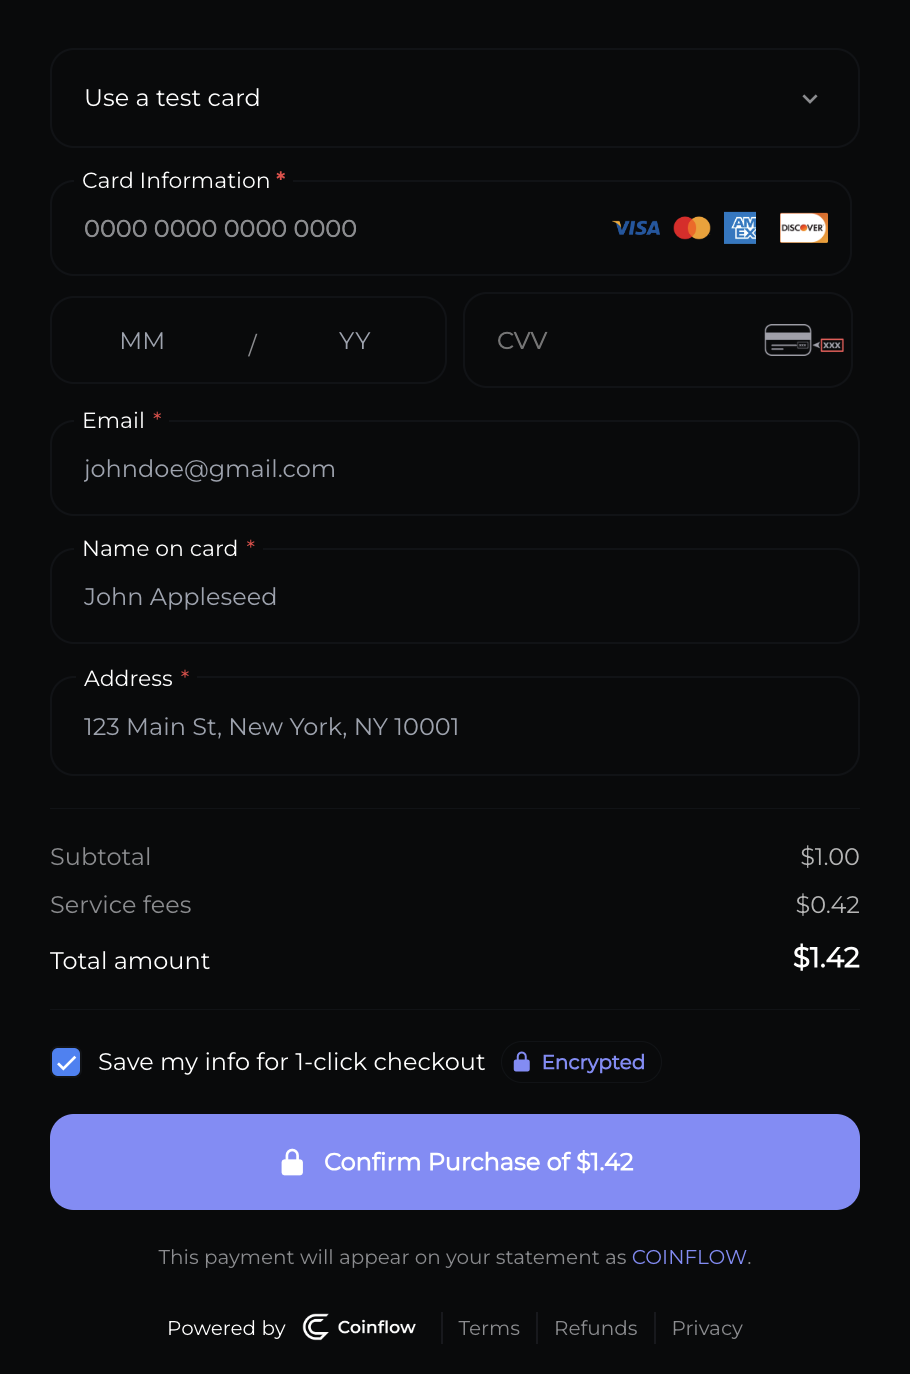
Card Checkout - Direct Settlement to Merchant
Merchants who have payers that dont have wallets and are settling USDC to the merchant can learn how to implement card checkout with this guide.
Setup
Account Setup
You MUST complete the account setup section before you start integrating!
Developer Resources
Quick Links:
- How does settlement to Solana Contract work
- Testing Card Numbers to use on Sandbox
- Listening to checkout webhooks
- Customize the UI to match your company branding guidelines if using Coinflow’s SDK or Checkout link
Authorization Headers:
Authorizationis your API Key. You can generate this from the merchant dashboardx-coinflow-auth-user-idis a unique customer ID you use within your systems to identify the user withdrawing fundsx-coinflow-auth-blockchainshould always besolanaif your settlement location is the Coinflow in-app walletx-coinflow-auth-session-keyis a JWT that authorizes the payer. This is valid for 24 hours and must be refreshed anytime after
API Implementation
- Share payer events with Coinflow
Sharing major events that a payer makes throughout their lifecycle on your website prior to them making a purchase will allow us to collect more information about them and improve your approval rates.
SignUpEventSignInEventSignInFailureEventBuyerChallengeEvent
- Fetch a session key
This creates a JWT token for the customer, and authorizes the user to call these endpoints. You will pass the returned session key as
x-coinflow-auth-session-keyheader.RequestResponse - Get the Totals for the checkout to show the customer a quote inclusive of all fees.
RequestResponse
- Tokenize the Credit Card Number. See tab:
Tokenize New Card - Tokenize the checkout parameters.
This encrypts the checkout parameters so bad actors cannot tamper with the checkout args.
RequestResponse
- Enable a New Card Checkout
This endpoint will enable a new user who has never made a purchase to complete their purchase with a credit card. Below is an example of how you’d call the card checkout endpoint:
-
RequestResponse
-
- Re-tokenize a saved card number. See tab:
Refresh Token w/ CVV - Enable a Saved Card Checkout This endpoint will enable a returning user to complete a purchase with a previously saved card. The returning user will need to enter their CVV before confirming the purchase. Once you’ve retrieved the refreshed card token, pass it into the Saved Card Checkout endpoint. Below is an example request:
Request
Response
- Optional Implementation: Get payment by id This endpoint allows your to get details about the payment.
Request
Response
- At this point, you’ve successfully made a purchase with a new card and with a saved card. Next, lets add 3DS for card purchases. Please reach out to the Coinflow team when you’ve reached this step so we can configure 3DS on your account.
Adding 3DS to Card Checkout
Follow the below recipe to learn how to add 3DS to your new card and saved card requests.
Adding Chargeback Protection
- Share payer events with Coinflow
Sharing major events that a payer makes throughout their lifecycle on your website prior to them making a purchase will allow us to collect more information about them and improve your approval rates.
SignUpEventSignInEventSignInFailureEventBuyerChallengeEvent
- Add the chargeback protection script to every page of your app.
This script allows our provider to analyze user behavior and determine if the behavior could lead to fraud.
- On sandbox, partnerId =
COINFTEST
- On sandbox, partnerId =
- Pass the
chargebackProtectionDataobject to the new and saved card checkout as well as the below headers. See an example of what the request will look like when you pass chargeback protection data to the new card checkout endpoint.x-device-id- Get this after adding the script in step 1x-coinflow-client-ip- the payer’s ip addressuser-agent- the payer’s User Agent
Checkout Link Implementation
- Share payer events with Coinflow
Sharing major events that a payer makes throughout their lifecycle on your website prior to them making a purchase will allow us to collect more information about them and improve your approval rates.
SignUpEventSignInEventSignInFailureEventBuyerChallengeEvent
- Call the Get Checkout Link endpoint This endpoint creates a checkout link which you can redirect a user to or embed in an iframe within your application.
Request
Response
👍 Want to trigger your own on success events?
You can listen to success event messages and get the payment id or pass your own function!
- Customize the UI colors and branding from your dashboard

- Whitelist your url By whitelisting your domain, checkout can only be completed on your domain. This protects against bad actors trying to take your checkout link and injecting it onto their site.
React SDK Implementation
- Share payer events with Coinflow
Sharing major events that a payer makes throughout their lifecycle on your website prior to them making a purchase will allow us to collect more information about them and improve your approval rates.
SignUpEventSignInEventSignInFailureEventBuyerChallengeEvent
- Install Coinflow package
- Generate a session key for the payer.
RequestResponse
-
🚧 Session keys are valid for 30 minutes and must be refreshed afterwards.
- Tokenize the checkout parameters.
This encrypts the checkout parameters so bad actors cannot tamper with the checkout args.
RequestResponse
- Implement the Coinflow Checkout Component.
- Customize the UI on your dashboard
- Whitelist your url By whitelisting your domain, checkout can only be completed on your domain. This protects against bad actors trying to take your checkout link and injecting it onto their site.

